

How to Configure a SketchBot-Drawn Footer


1. You will need a valid .SVG file to begin this process. Having knowledge of Adobe Illustrator can be helpful here as some adjustments may need to be made
A few notes:
The .SVG should not have any gradients or high level of detail
Is preferably a solid color (black)
Has as small of a line count as possible (too many lines/paths will have a longer sketch time)
If your .SVG has extra space around it, meaning the "canvas" or artboard in Illustrator is larger than your logo, you will see that blank space in Rotrics Studio and it will affect the height/width settings as it includes that extra space. To avoid this, be sure to fit your artboard to the artwork bounds
Picture Mosaics does offer this branding -> .SVG -> .gcode as a service in the case you are not getting the results you are looking for (additional cost). Please contact info@picturemosaics.com for a quote
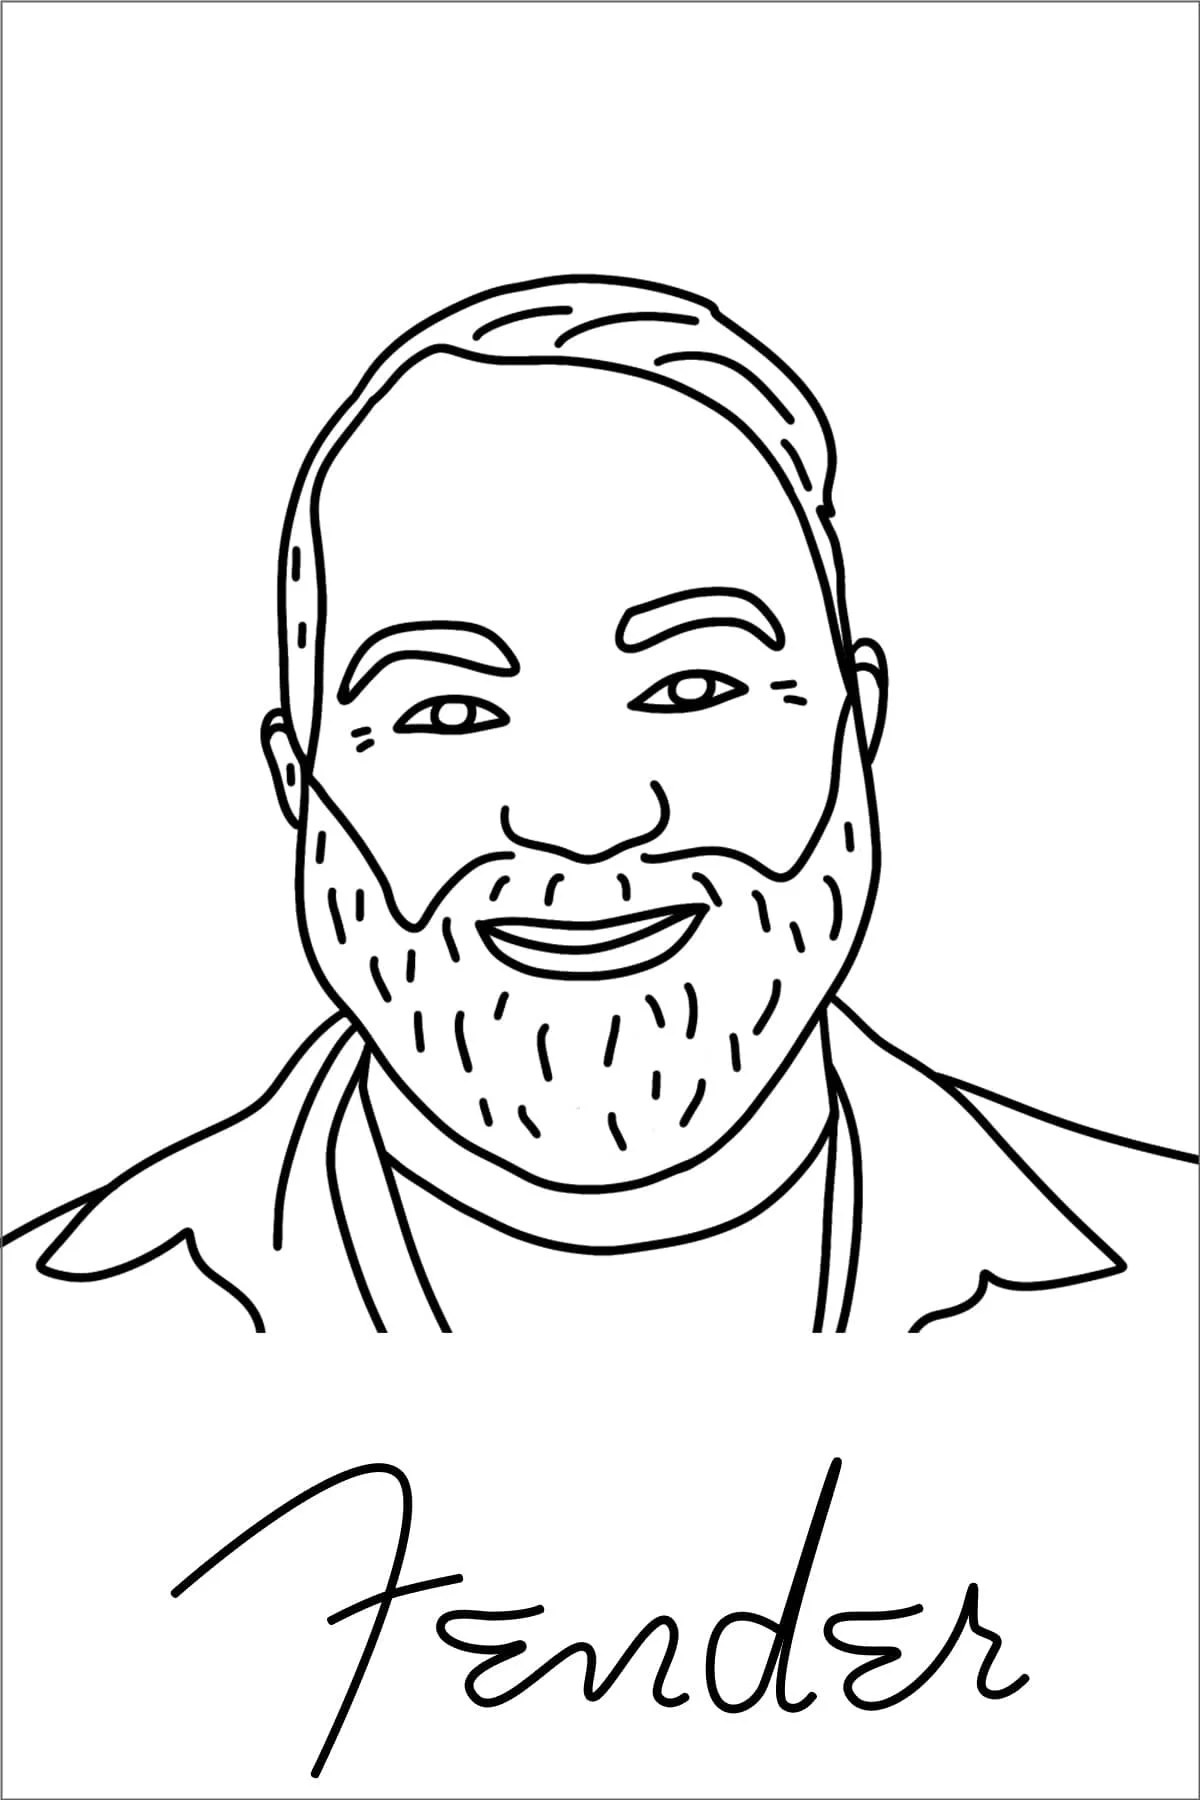
It’s important that you use an .SVG that meets the above requirements for optimal results. See a comparison below.
OPTIMIZED .SVG
NON-OPTIMIZED .SVG
Download these .SVG and G-code samples here to try them out yourself.

3. Once successfully installed, open Rotrics Studio

On the left column menu, navigate to the Write & Draw tab
4. On the right column menu, click the SVG button

In the opened File Explorer, select the .SVG from Step 1

5. In the Transformation section of the right column menu:
a. Flip Model -> Both
b. Ideally, Height should be around 29mm (so set Height -> 29 first), BUT if that causes Width to exceed 90mm, then set Width -> 90 and allow Height to correct itself accordingly.
NOTE: Width should not exceed 90mm because the platform is only 110mm, and you want horizontal space around the watermark.
c. Move Y(mm) -> 323
NOTE: You might need to play with this number if your height is less than 29 (a larger Move Y number will place the watermark closer to the bottom of the platform)

6. Click the Generate G-code button in the right column menu
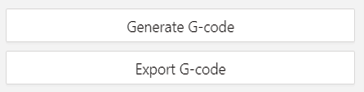
You should see a success message
7. Click the Export G-code button
Save the .gcode file as watermark.gcode

8. Move the new watermark.gcode file into the Desktop/SketchBot/watermark folder
If no watermark file exists in the watermark folder and you’d like to use one, you will need to restart the program after adding one in
If you’d like to swap out one watermark for another, simply delete the existing watermark, then paste the new one into the directory above (you do not need to restart the program in this case). If there is an existing .gcode or .txt file in the directory that you don’t want to delete, just rename it. The Sketchbot Manager is only looking for watermark.txt or watermark.gcode

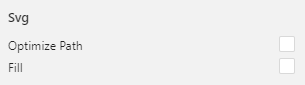
9. (Optional) If the converted .SVG is drawing in an odd order:
You can try to check the Optimize Path box in the right column menu and generate the G-code again (Step 6). Or alternatively, you can open the watermark.gcode file in a text editor and move certain sections of .gcode around - this is a bit of trial and error, and having a bit of understanding of how .gcode works can be helpful.
This is a last resort option if you are very particular about the order in which the branding is sketched.
NOTE: Picture Mosaics does offer this branding -> .SVG -> .gcode as a service in the case you are not getting the results you are looking for (additional cost). Please contact info@picturemosaics.com for a quote.